Setting up a project in Angular 2
Setting up a project in Angular 2
Step 1: Setting up the Environment.
For setting up the environment you need Node.js . Make sure you are having least node 6.9.x and npm 3.x.x by running node –v in console. I am using GitBash but you can use command prompt.
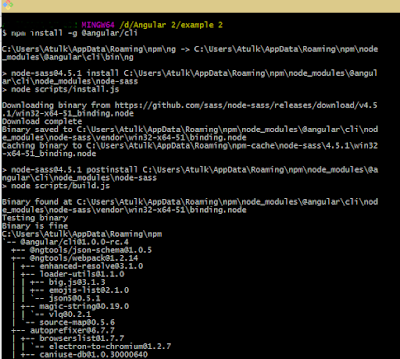
npm install -g @angular/cli

This will install angular cli globally in your system. You don’t need to set environment variable for it. Once this is done we can move to Step 2.
Step 2: Creating a new project.
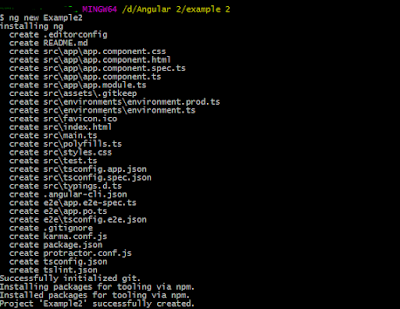
Create a new project and skeleton application by running the bellow command into your terminal.
ng new my-app
it’ll take few minutes to set up a new project

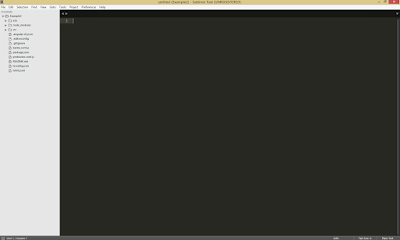
after you created the structure successfully your folder will look like below:

Step 3: Serve the application:
Navigate to project folder and launch the server.
The ng serve command will launch the server also it will constantly watching your files, if you make any changes to the source file it will build the app and show the changes into the browser.
cd my-app
ng serve --open
once you run “ng serve –open”. It will open up a page in browser saying “app works!” which means you successfully installed and setup you project.
You’ll be majorly working on /src folder. All our code will be in Source.
You can go to “/src/app/app/component.ts” and try changing your title to something .
export class AppComponent {
title = 'My First Angular App';
}
Youtube Link : Setting up Angular 2 Project and Simple Routing in Angular 2

Good blog Buddy ..
ReplyDelete